For new bloggers thinking about monetising their blogs, there are a few ways to go about it. You could start adding affiliate links, typically from amazon, or a specific product/brand you may know well. Another common way to start monetising the blog is to add display banner ads. In this post, we’ll go through the steps to add Google Adsense codes on your WordPress site.
What is Google Adsense?
Adsense is Google’s display ad network, where they enable millions of websites and publishers to earn money by matching ads to your content and audiences that your site interacts with.
There are many alternatives to adsense, of course, but a lot of them require a certain level of traffic to qualify. For beginner bloggers still looking to build their reach and traffic, adsense will probably be the best place for you to start with.
How do I get an Adsense account?
If you already have a google account, head on to https://www.google.com/adsense/start/ and log in via your usual google account.
If you don’t have an existing account, hit on Get Started and follow the onboarding process. You will then be directed to create a gmail/google account.

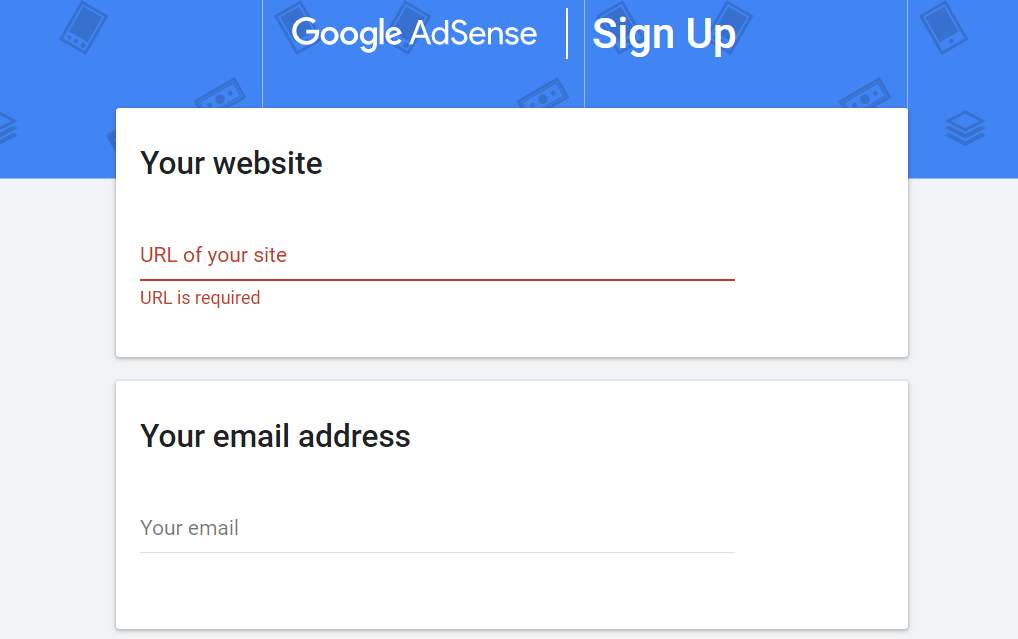
Once you’re in the platform, the first thing you want to do, is to create sites. Go to the hamburger menu > sites > add site.

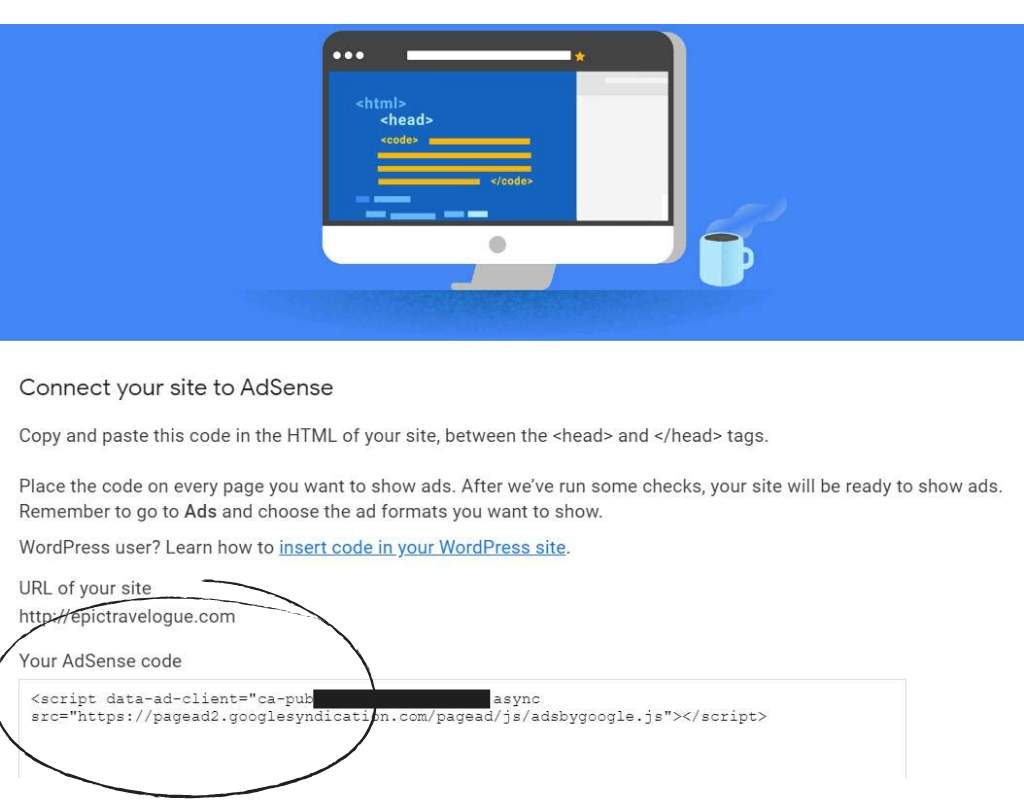
Once you have added the url to the site, adsense will generate a javascript code for you to implement on the header of your site. The details are shown below. You’ll need to place the code in the header section of your site. This typically runs across every page on your site, so all you need to do is a one time effort.

Placing adsense code on your site
There are a few ways you can place the code on your site.
Theme Editor
If you’re a little more savvy, and not afraid to see code, you can try this. In your WordPress dashboard, go to Appearance > Theme editor. Make sure you’re on your current theme, and choose Theme Header (header.php).
In the main section, you’ll see the scripts in the header.php file, and you can paste the adsense code between the <head> </head> tag.

Plugin
If looking at code makes you nauseous, worry not, there’s a plugin for that. (the adsense code, not your nausea).
Google recommends using Site Kit, a plugin that unifies data from Analytics, Search Console, Adsense and PageSpeed Insights all in one! This method will be the most efficient, since with 1 plugin, you can simultaneously add codes for multiple Google products!
Header Widgets
If you have widgets that allow you to make changes to the header section, you can also pull in the custom html widget over to the header section, and paste the code in there.
Adsense ad settings
Once you’re done adding the code, you’re home free! Google will take a while to verify that you have implemented the code, but in the meantime, you can go ahead and adjust your ad settings.
Once upon a time, when I started using adsense, we had to manually create each ad unit by ad size (160×00, 300×250 etc). It was painful.
Now, once you have added the code, you have already done the hard part!
You can now go into Ads, global settings, and select “Let google optimise the size of your mobile ads”.

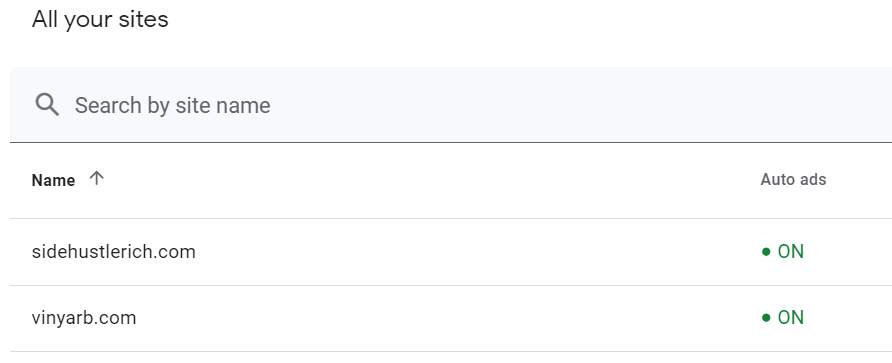
Next, go into “ads by site”, and make sure auto ads is turned on. Click on the edit button (all the way on the right), and you will be able to edit the types of ads you allow on your site (in-page, matched content, anchor, vignette etc), and how much ads you want to allow on each page (slider from min to max).

Once you’re done with your ad settings, you’re done! Now just sit back and watch the ad money roll in!
In a future post, I’ll go through setting up adsense on your AMP (Accelerated Mobile Pages) site, as that’s a whole different beast!
